
One A Day – 530 – A Study
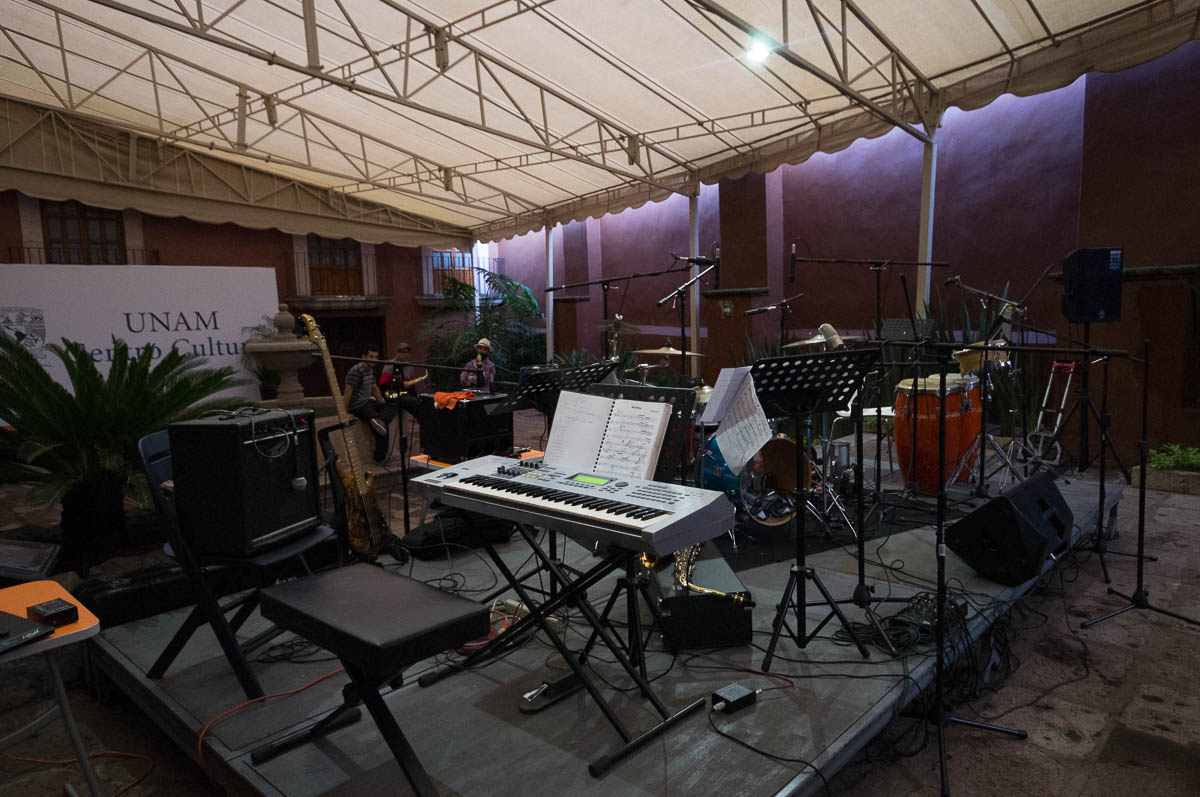
Original – Camera Raw

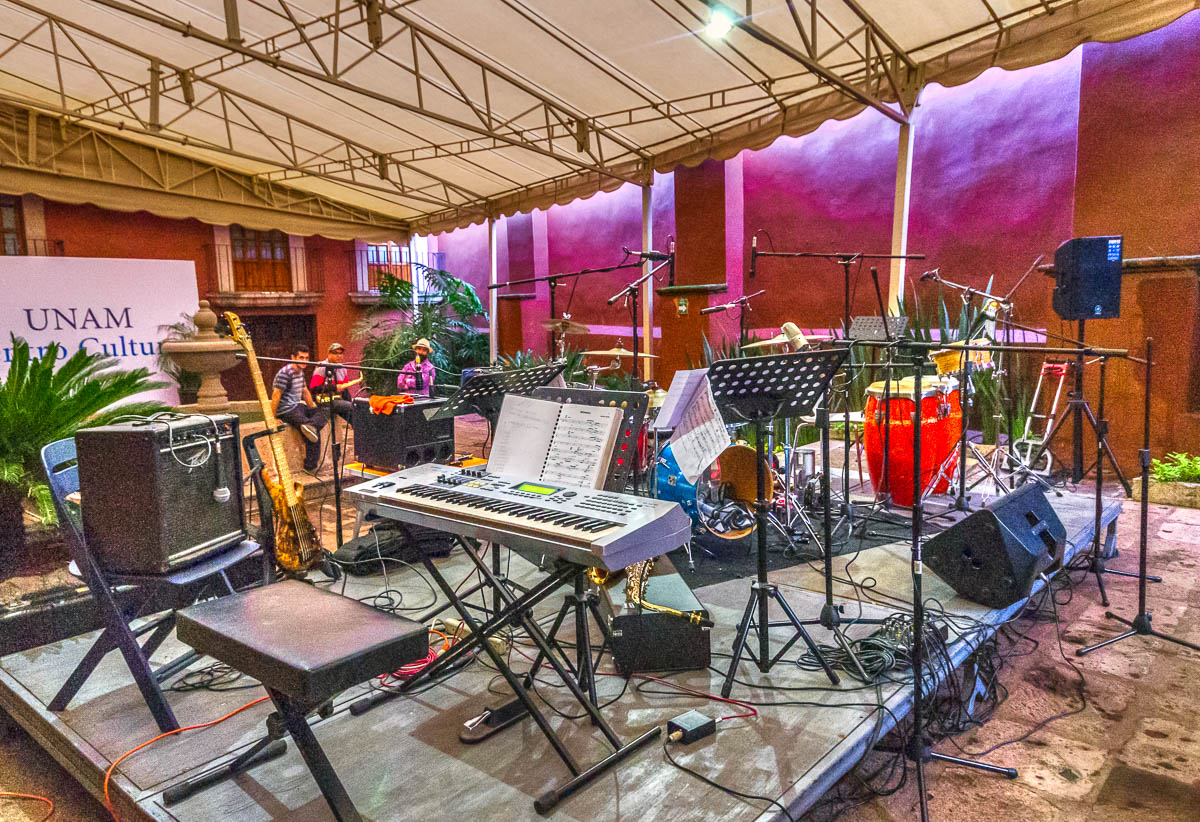
Lightroom Final – adjustments and edits applied
Photomatix Pro Final
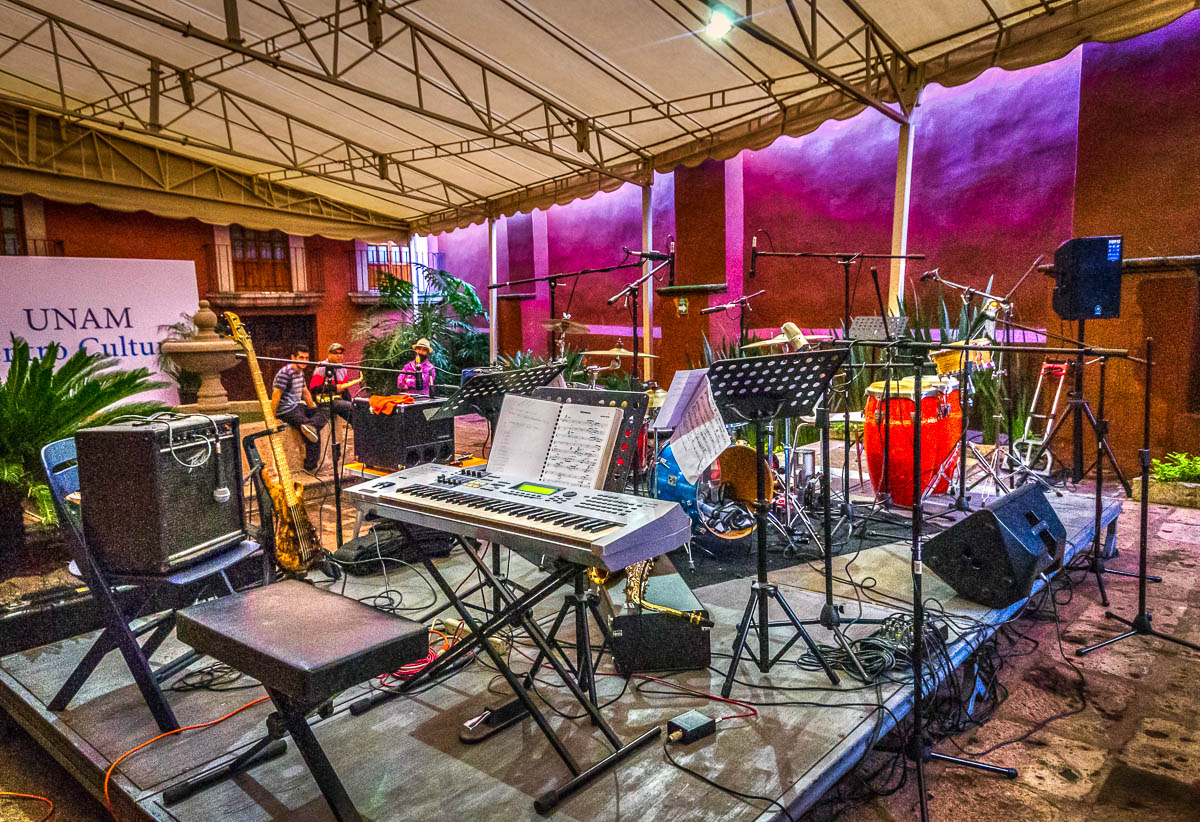
Mic’ed and Ready – Final, Final. Lightroom adjustments applied to Photomatix Pro Final
- Jazz Latino del Valle de Guayangareo
- David Villanueva: piano y teclados. Nemesio Villegas: sax alto y tenor. Omar Marín: bajo/contrabajo eléctricos. Carlos Pavía: conga y percusión. Efrén Capiz C.: batería y dirección
- UNAM – Centro Cultural, Centro, Morelia, Michoacán, México
- October 7, 2014
- Copyright, all rights reserved
I have been asked (more than once) about the process I use for “tone-mapped single exposures.” This post details the progression from the Adobe Digital Negative (DNG or RAW) to the final. The first time through for an image from a shoot, the process takes about 30 minutes. Subsequent images can take less because you can leave Photomatix with the settings from the last picture (or save them as a named default) and as long as you want a consistent style, changes for each image will be just for small differences. It is all subjective – choices made by the photographer – because if you just select profiles and templates you really aren’t controlling the result.
The image at the top of this page is exactly what comes out of the camera. It is a bit dark, but it is exactly what I need. The highlights are not burnt out and the shadows have plenty of detail. You could make it a usable image just by making it lighter. But at that stage, it wouldn’t be anything more than any point and shoot camera is likely to give you. If that was all I wanted, it would be better to stay with a simple camera.
From there, I import the photo into Lightroom, apply lens profiles and standard corrections. There is a lot that is changed in the Lightroom Final – the shadows are opened up, highlights controlled, white space and black space rebalanced, and color adjusted. If all I want is a good image, I can stop there and make a jpg for the purpose I want. Since Lightroom is “non-destructive” – all my adjustments are in a separate file from the image and are only applied to the screen version I see and versions I make for the purpose I select – printing, web, publication, etc.
I then make an edited version that can be imported into Photomatix Pro. In most cases, a Photoshop file (PSD) is the best choice. In Photomatix, I select the kind of approach I want to use (in this case it was Detail Enhancement) and begin adjusting the options as I want. Again, although I can start from a template, I can then modify the settings the template assigns to get the result I want. To some extent, Photomatix is a touchy program to do fine adjustments with, so I get the result as close as I can to what I want and then reimport back to Lightroom.
At this point, the result is pretty close to final so the adjustments in Lightroom are pretty small, but important because I have finer control over density, saturation, etc. in Lightroom. As I have mentioned, all the choices (and there are about 40 as close as I can guess) made are subjective. You don’t need to make any and you can have a decent photo with a little adjustment. In this case, I went closer to photorealistic than surreal for the final, but anything in between is possible, including dropping all the saturation and doing it in black and white.
So this process certainly isn’t quick and easy, but if you want something that is interesting and has some special qualities, it is one way to do it.